How to Limit WPForms Entries on your site
Do you need to limit your Form Entries? Are you getting too many spam messages from the same email domains or IP address? or maybe you are running a contest and want to limit the total number of submissions. Whatever the reason, sometimes it’s crucial to control the number of entries on your site.
But fear not, it’s very easy to limit WPForms Entries on your site. In the below guide, we are going to discuss the tools and the process to limit entries on your site and bring order to your forms.
Why Limit WPForms Entries?
There may be several reasons you want to limit WPForms Entries on your site:
- Prevent Spam and Abuse: As seen in most of the cases having a public form on your site attracts a lot of spam and bot submissions wasting your precious time and resources. Limiting Entries helps you keep those submissions at a minimum and keeps your dataset accurate.
- Create a Sense of Urgency: If you are running a contest or a promotion then you surely need to limit your form submissions. This will create a sense of scarcity and encourage people to fill out the form sooner than later.
- Improve Data Quality: With fewer entries to shift through you can give your full attention to each submission helping you to make informed decisions.
A Step-by-step guide on how to Limit the Number of Entries in WPForms
Follow these step-by-step guide on how to limit WPForms entries on your form.
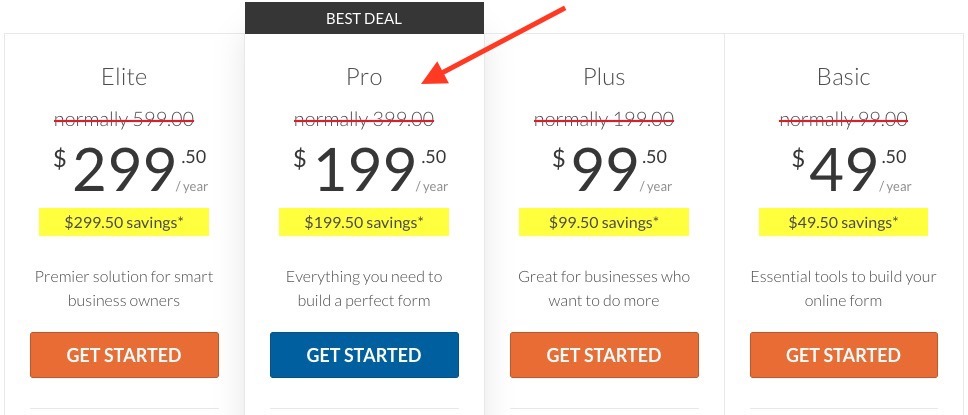
Step 1: Install WPForms Pro Plugin
To Limit Entries in WPForms you will need at least the WPForms Pro package. Please note that limiting entries won’t work with WPForms Lite, the free version available on wordpress.org
Step 2: Install WPForms Form Locker Addon
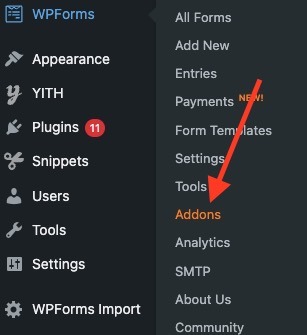
Click on WPForms => Addons and search for Form Locker Addon
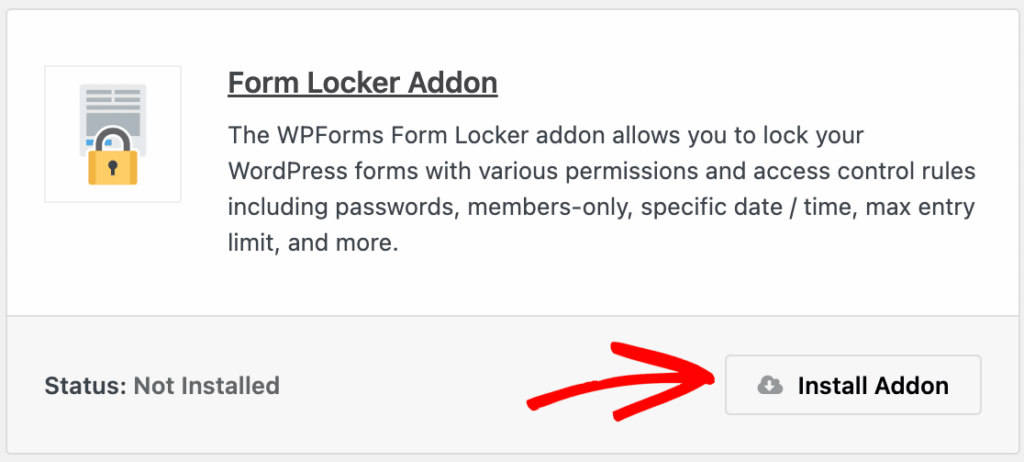
Click on the Install Addon button to install the Form Locker Addon
Once installed you have to create a new form or edit an existing Form.
Step 3: Edit your Form to Limit the Entries
Edit your Form and go to Settings => Form Locker in the WPForm Editor screen.
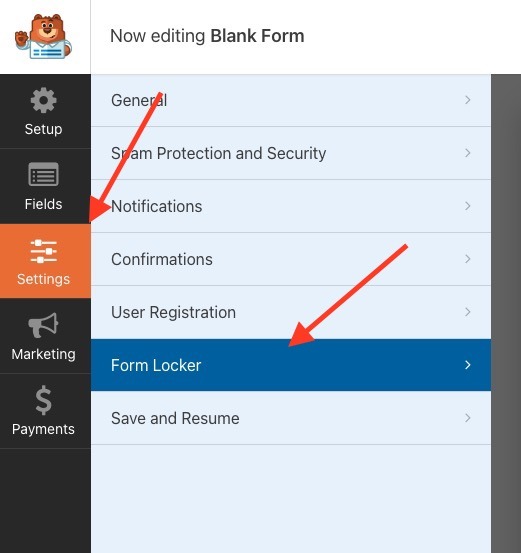
On the right side, you will see the options for limiting entries
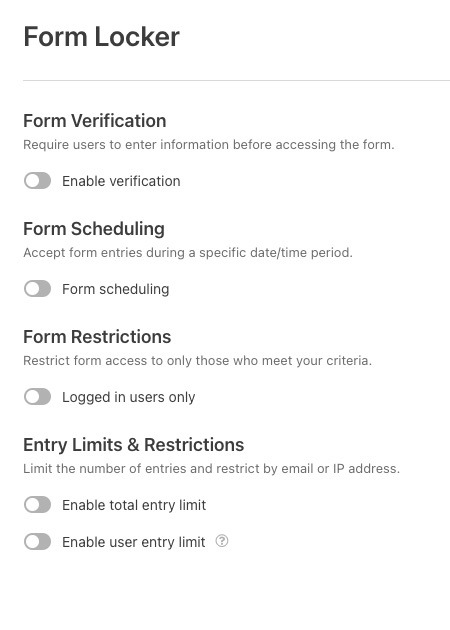
Let’s go through these options one by one at a time
Step 4: Limit by Form Verification
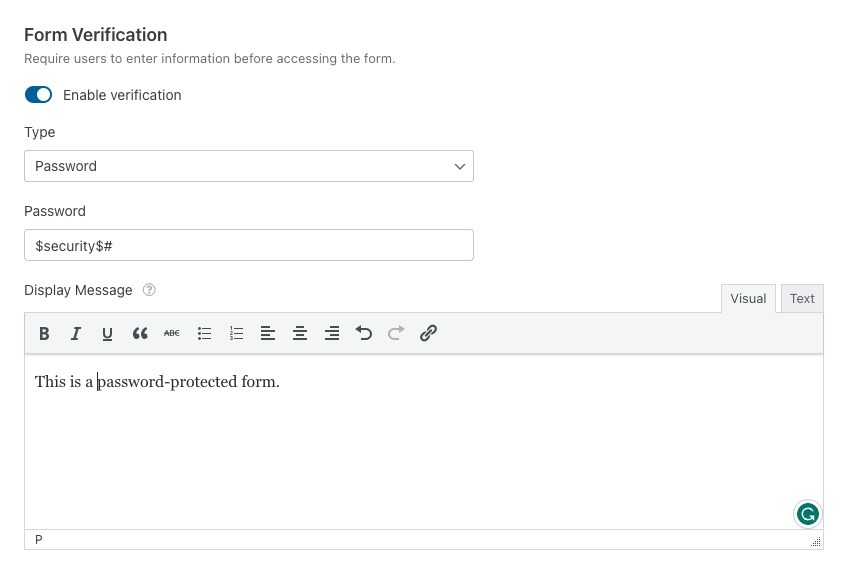
Enable Verification: check this option to enable Form Verification settings
Type:
1. Password: IF you want your Form to be password protected set the password and the message to display on the Form page.
2. Age: Lock the Form to users with minimum or maximum age.
3. Email: Allow access to the form after the user enters the email address
Step 5: Limit by Form Scheduling
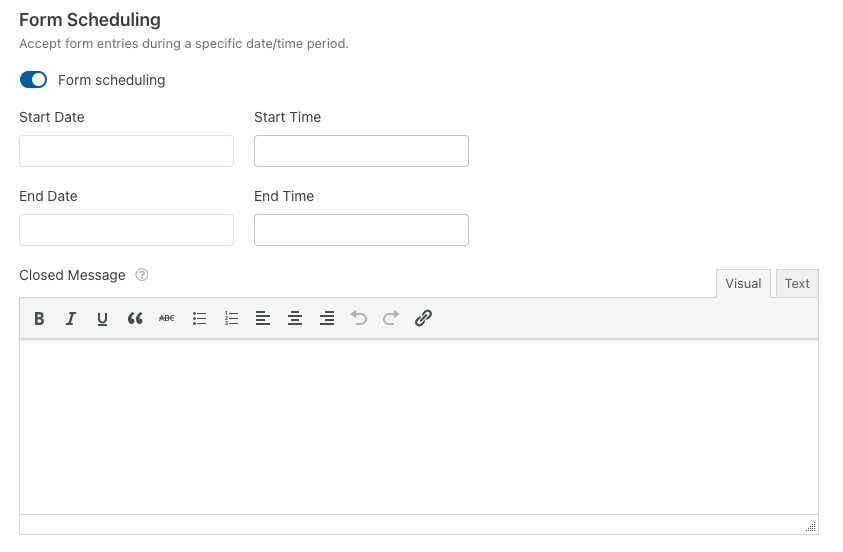
Form Scheduling option allows you to set the date range in which your Form is available on the site for users to fill.
Set the Start Date and time and if you want to restrict it for number n number of days then you can set the End Date and time.
Step 6: Form Restrictions
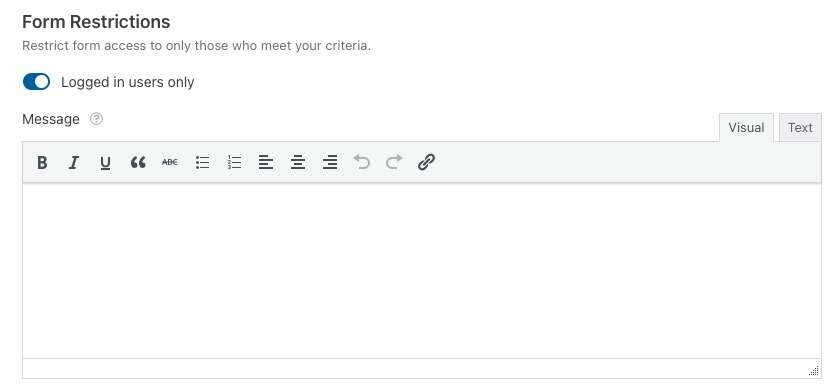
The form Restrictions option allows you to only display Form for logged-in users. Guest users will see the message you set in the message box.
Step 7: Entry Limits & Restrictions
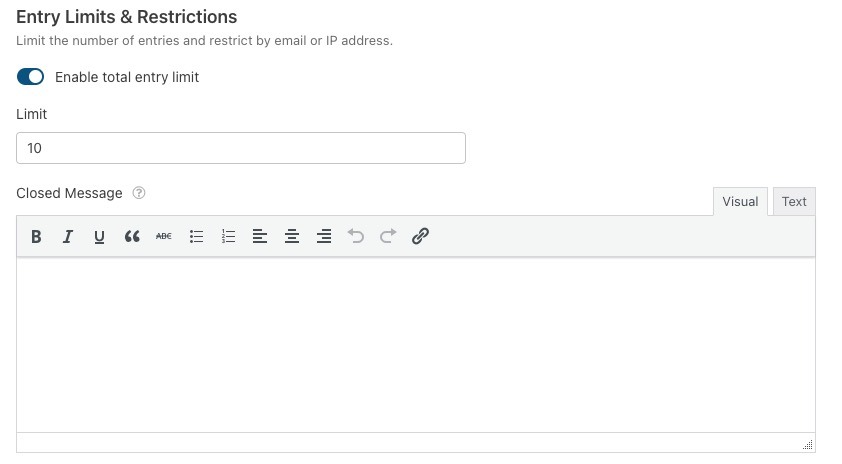
Enable total entry limit: allow you to restrict your Form to the total number of Entries it can receive. An example case would be a contest running on your site for the first 100 participants, you can then set the Limit to 100.
Enable user entry limit:
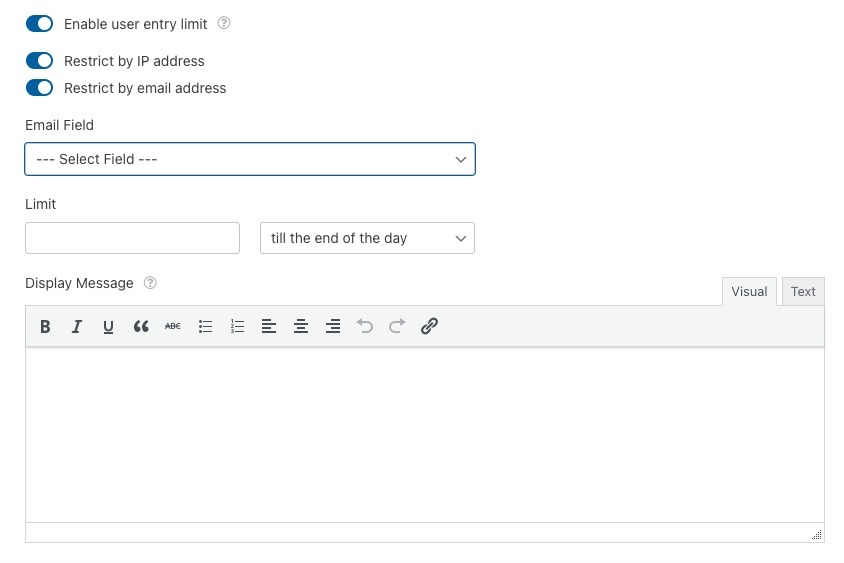
Restrict by IP address: Restrict the Entries by IP address of the users.
Restrict by email address: Restrict the Entries by the user email ID
Limit: Set the total number of Entries the user can add.
Next, Display Entries on the site frontend
Now you have learned all about how you can limit entries on WPForms you can go and display the collected data on the site frontend using WPForms Views. An Example would be to display all the participants who have entered a contest or display the result of a poll on your site.
So what you are waiting for? Start collecting entries on your site and make use of the data to create job portals, directories, and user profile views using WPForms Views.
